Wednesday, September 14, 2011

My Wedding: A Tea Party

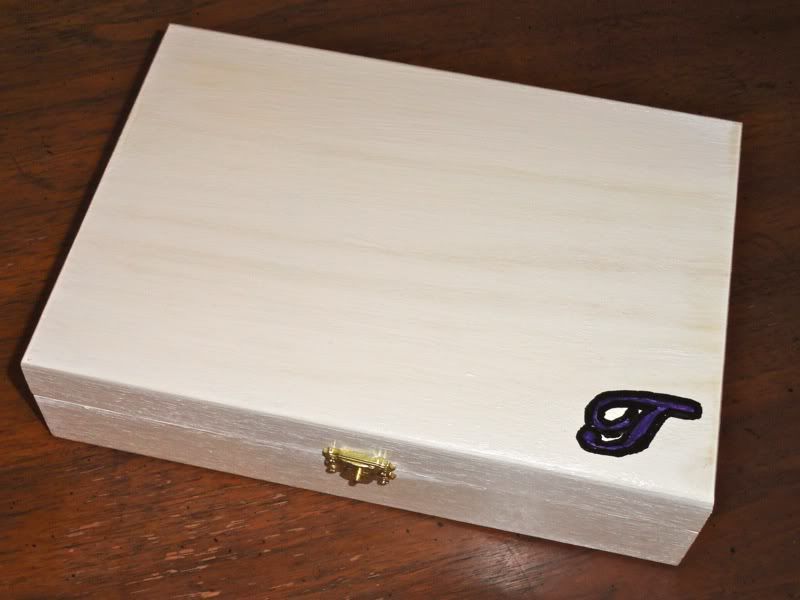
I am a very lucky girl. I am getting married next May to an awesome guy. And of course, weddings are a wonderful excuse to do fun crafts and DIYs! I am going to instate something called "Wedding Wednesdays" and hope I can keep it up. Once a week I will post SOMETHING I am doing for my wedding, whether its crafts, or fun decorating ideas, or my invitations. This week we will start out with the first wedding related craft I have done. It was simply wonderful. To ask my friends to be my bridesmaids I made this wonderful box, filled with goodies and wedding information:


Photobucket


It was a very simple, but time-consuming process. I started with some $7 unfinished wood boxes from a craft store and primed them with FolkArt artist pigment in titanium white. Then I did one coat of ivory. Since the primer coat was with nice, thick paint I only needed to use one coat. If I hadn't wanted any woodgrain to show through I would have done one more coat of the ivory, but I ended up liking the woodgrain a lot, so I left it.

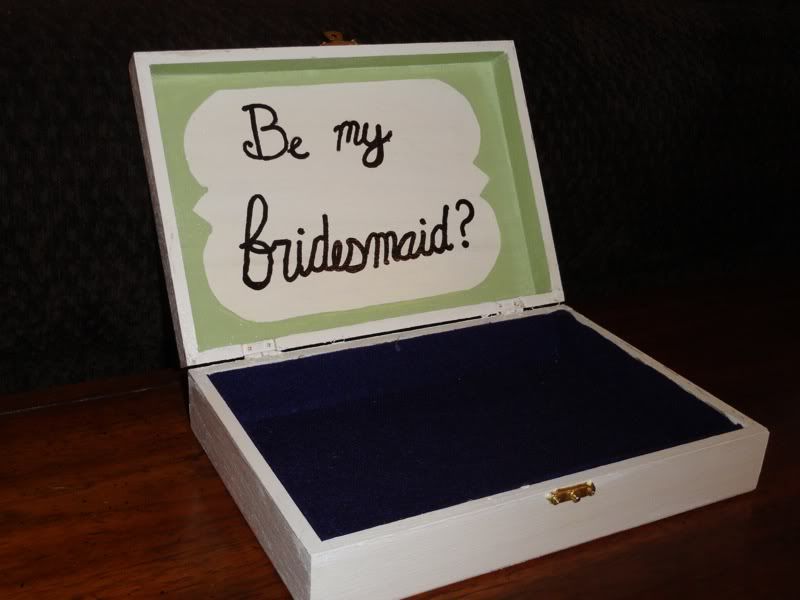
Each girl's box had their first initial painted on the front (hooray for stencils!) Next, I made a stencil out of cardstock of a basic decorative shape. I then traced around it on the inside of each lid, and painted light green on the outside of the stenciled shape. I then penciled in cursive "Be my bridesmaid?" inside the stenciled frame. Next came that handy black paint pen. I traced over the cursive with it- it's a shame my handwriting isn't any better, but I guess that's the charm of homemade things- they are never all matchy-matchy perfect.

I then let everything dry for about 24 hours and did two coats of varnish (you can find the exact kind I used in the store).

Photobucket


To line the inside of the box I bought some 8 1/2" x 11" sheets of felt at the craft store (I didn't want to spring for the nice stuff on the bolt, and this felt seemed pretty good to me). I was able to use one sheet per box, cutting them up to make a strip for each side and a large rectangle for the bottom. Then, after all the varnish had dried, I was able to brake out my hot glue gun (yaaay!) and glue down the felt. I went back and made sure all the edges were secure after I had glued down all of them.

Photobucket


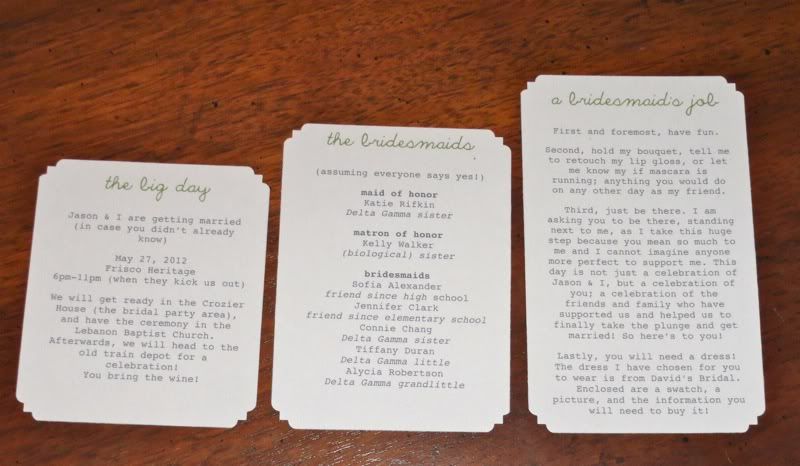
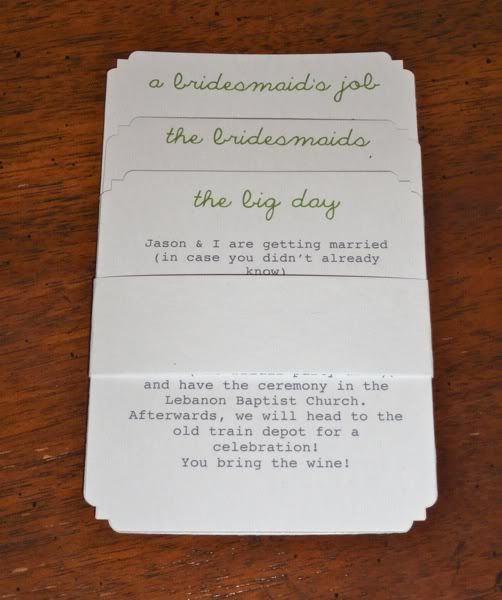
I then typed up some information on to three cards, which got progressively larger. The first one had the date, time, and location of the wedding. The second had a list of all the girls I was asking to be in the bridal party. The third was "A bridesmaid's job" which then went on to say "just be there for me, I love you, you're awesome." I stacked them and wrapped some cardstock around them to hold them together. They looked like this when I was all done:

Photobucket


The last thing I made for this box was a little something I called the "Dress Shopping Cheat Sheet." It was a small folded card, about 2x2" that had all the information the girls needed to know about buying their dress. This way, when it came time for them to get their dresses, they could toss these in their purses and go worry free!
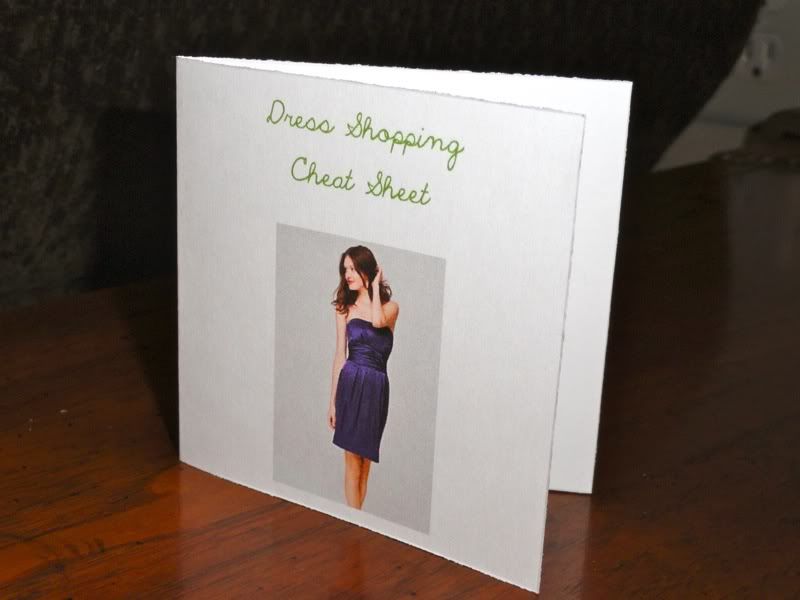
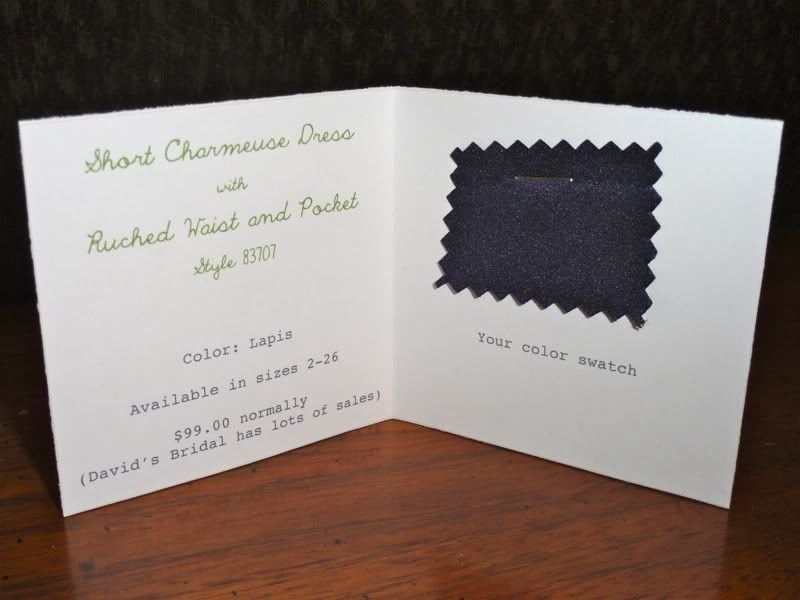
PhotobucketPhotobucket


Inside, I also included the oldest picture I could find of me with each girl and put it in a magnetic frame so they could put them on their refrigerator and each girl's favorite candy! That way each box is super personal and wonderful.

In the end they looked like this:
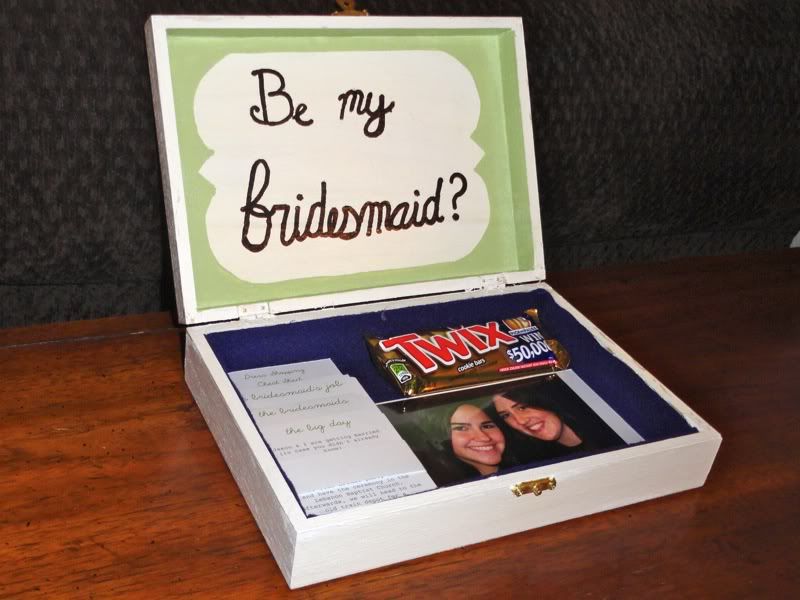

Photobucket


The girls had no idea that the ulterior motive for my tea party was to ask them to be my bridesmaids (except my maid of honor, on the left), so it was so fun to see their faces as they opened their boxes and discovered the surprise inside!
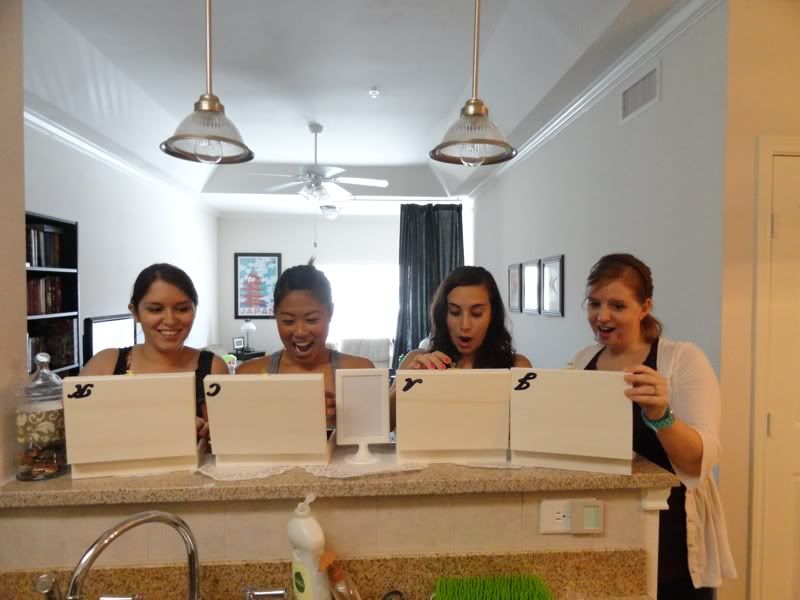
Photobucket
Photobucket


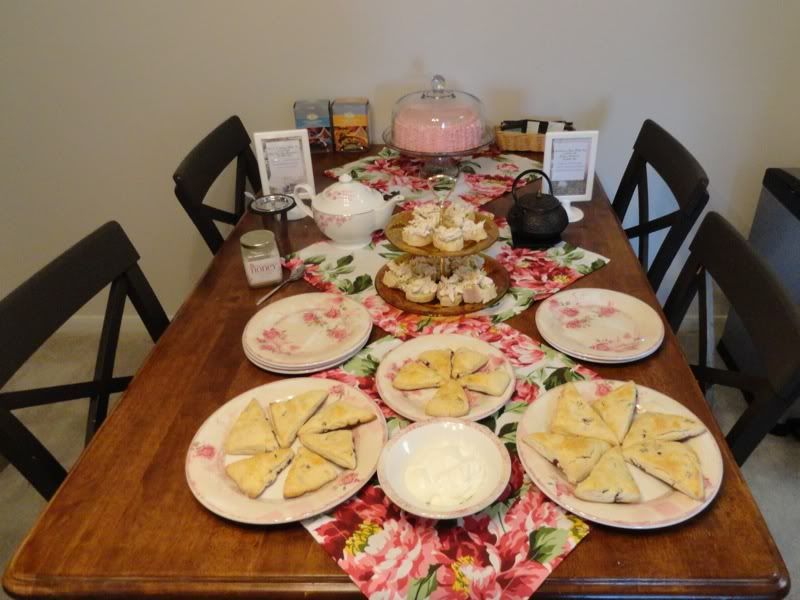
Instead of doing an ordinary table runner or table cloth, I bought 3 cloth napkins (clearance at Dillards) and angled them to create three distincts area. I also bought from 99 cent frames from IKEA and typed up a short description of the kind of tea in each teapot so that the girls could serve themselves without constantly asking "which tea is this?" The tea set and plates I used did not match. Nothing did REALLY. I wanted a little bit of an eclectic look. I used a common theme of pinks, greens, and some ambers. The tea tray I found at an antique mall in Denton, TX and the tea sets are from Teavana. The plates you see are Portmeirion Filigree Rose, and the the cake plate is Anchor Hocking (it doubles as a punch bowl). And guess what? You can find the tea set and the cake plate at the Amazon store, in the cooking section.

I made several wonderful foods that day, and we drank some divine tea. The spread was amazing. I was so proud. Orange-cranberry scones with homemade scone cream, chicken salad on baguette slices, and a yummy raspberry-filled butter cake. Recipes are to come soon! I didn't want to make this one entry too long, so be looking out for Tea Party, part 2! :)

Tuesday, September 13, 2011

Craft Tuesday: Hot Glue Gun Art

Okay. So I was on Pinterest (as I always am) and saw this GREAT idea to decorate old glass jars and bottles with your glue gun and then paint them! How awesome is that? Yah. Not that awesome as it turns out. The glue chips right off of the glass. So, the gears in my head start turning. What if you do it on a canvas? Hooray!

For this easy, quick project you will need:
  • Hot glue gun
  • Glue for your hot glue gun
  • Canvas (I used a 12x12)
  • Pencil
  • Spray paint

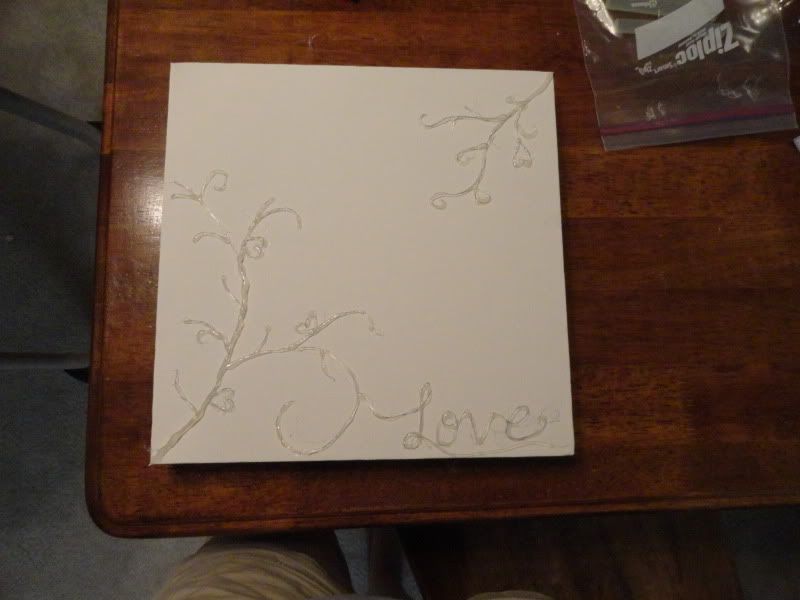
After you decide on your design, use your pencil to sketch it onto the canvas.
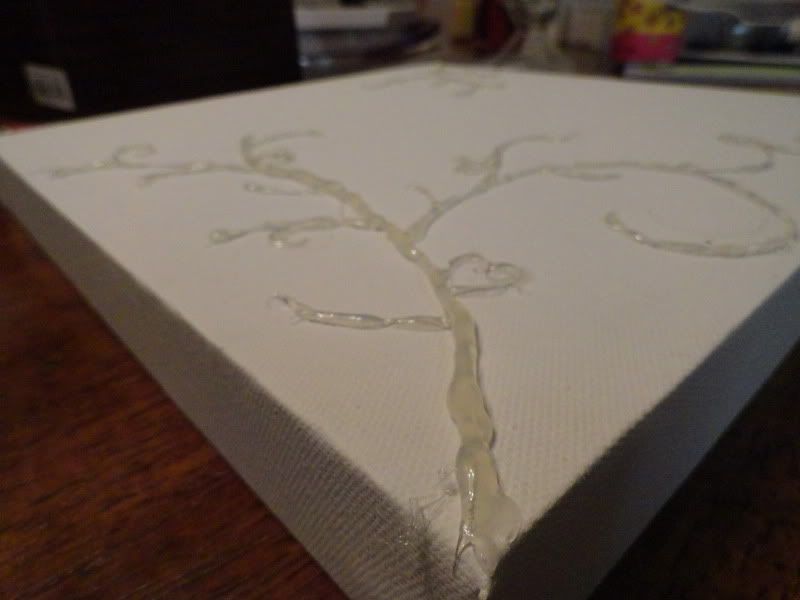
Now, before you put the glue on the canvas, I would suggest tracing something to practice handling the glue gun. It helps me to hold it so the glue gun is at a 90 degree angle to the canvas. After you have the hang of it, go for it! Trace your pattern carefully.
The great thing about hot glue is that is dries SO quickly! Pick away those pesky little glue strings and make sure all your glue is dry, and then spray paint.
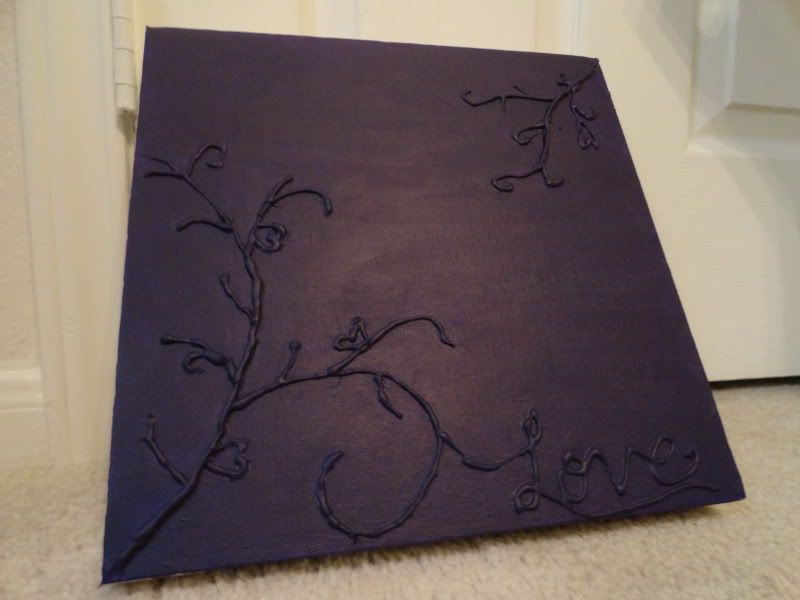
The finished project will look something like this! This one was actually painted with 3 or 4 coats of acrylic paint, which took FOREVER. I just didn't like the design nearly as much on the one I spray painted. Keep in mind I am not much of an artist when it comes to drawing, and of course this project does rely on a little bit of drawing talent... but if I could do it, I PROMISE that you can too.

This is just super easy and is a great thing to hang in bathrooms, hallways, and little kids rooms. Try doing a series of them, each one a different color with similar (or identical) designs. You can also tape the canvas off and do several colors on each canvas. The possibilities are endless, and I would love to see what you come up with! Submit pictures of your hot glue gun art and I will post them on Show-Off Thursday!

Sunday, September 11, 2011

Sunday is...Inspiration Day! Creativity Journal

I recently bought the book 365: A Daily Creativity Journal. It has been such an inspiration for starting new projects. I don't have nearly enough time to do a project everyday between a baby, a blog, and the mess that both create, so I am using this book as general inspiration for my upcoming crafts. I have already found (and modified) several of these ideas that I intend to use in the very near future.  I think this is just a super book, and if I could I would do one
of these everyday. What a great way to push your creativity. Also, a great way to MAKE yourself be creative, even if you are not a "creative person."

Here are some examples of the daily creative challenges:

24: Work only with green-colored materials today. Try working on a green surface for a real challenge.

107: Make something out of a ball or make a new ball out of something else and then play with it.

175: Miniaturize. Create a tiny version of something would normally be much bigger.

 Fun, huh? Go to the Let's Create Amazon store and pick up a copy!

Friday, September 9, 2011

Foodie Friday: Butternut Squash Baked Pasta


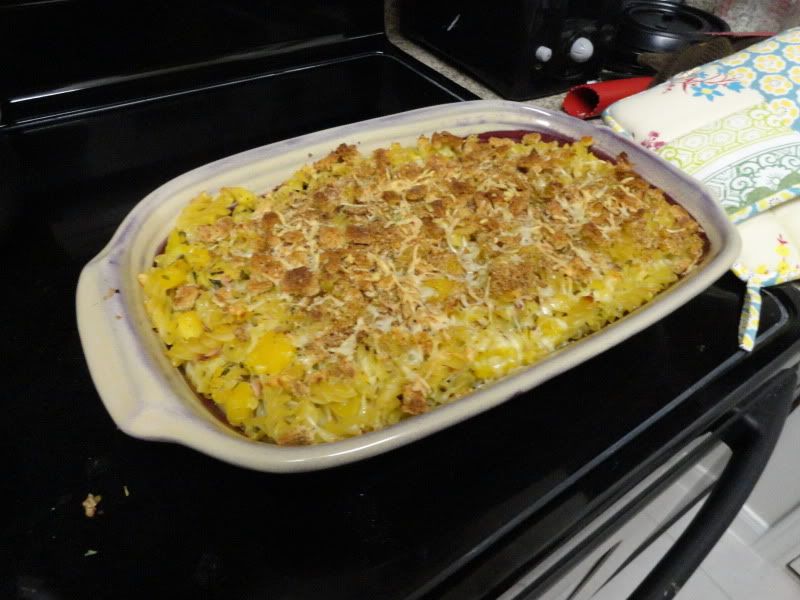
Okay, in my efforts to eat more vegetables without cutting into my pasta eating, I have made this recipe several times. It makes six large servings and the leftovers keep really well! The ONLY thing I don't like about making this is the amount of time it takes to peel and seed the butternut squash. So, if you can find it peeled and chopped already, that will save you lots of time.

Also, this recipe does have ham in it, but leave it and out you have a delicious vegetarian meal!

You will need:
  • 1 butternut squash
  • 16 oz (1 box) rotini pasta
  • 1 ¾ cups chicken broth
  • 1 ½ cups milk
  • 1 cup (about 3 oz) freshly grated parmesan cheese
  • ¼ cup plain bread crumbs
  • 4 oz diced pancetta (ham deli meat works too)
  • 3 medium cloves of garlic
  • 2 tbsp parsley
  • 1 tbsp thyme
  • 4 tsp olive oil
  • Ground pepper

1.     Peel and seed butternut squash, and dice into ¼ inch pieces
2.     Preheat oven to 375 degrees Fahrenheit.
3.     In 12” skillet, cook diced pancetta (or chopped ham slices), stirring occasionally, over medium heat for about 10 minutes or until browned.
4.     Scoop pancetta into medium bowl and press peeled garlic into the same skillet, adding 2 teaspoons olive oil.
5.     Add ground pepper to taste.
6.     Cook garlic for 3-5 minutes and transfer garlic to bowl with pancetta.
7.     In the same skillet, heat 2 teaspoons olive oil until hot.
8.     Add diced squash to skillet. Cover and cook for 10 minutes, stirring frequently.
9.     Now is a good time to begin making the rotini pasta. Once the water begins to boil, add pasta and cook 2 minutes less than indicated on the box. After the pasta is cooked, strain it and return it to the pot.
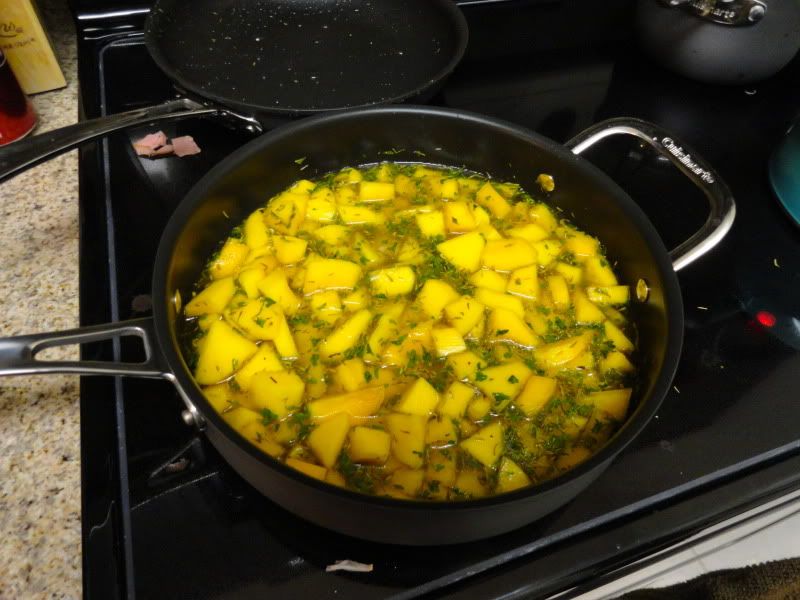
10.  In the skillet with butternut squash, add parsley, thyme, and broth. Cover back up and cook for 12 minutes, or until squash is tender.
11.  Add milk into skillet and stir. Heat through.
12.  Add squash and pancetta mixtures to pasta as well as ¾ cup grated parmesan and stir until well mixed.
13.  Spoon pasta into large ceramic baking dish and sprinkle with breadcrumbs and remaining parmesan. Bake 30 minutes, until top is golden. Let cool for 5 minutes and serve.


This is a recipe that I found on Better Homes & Gardens, and modified quite a bit. If you are interested, here is the original recipe.