
It seemed appropriate to me that my first project, and blog entry, should be something I can use to photograph all of my other projects! I found a GREAT DIY Macro Photography studio from a wonderful blog, Strobist. So I decided to take on this project and it turned out WONDERFULLY. So, now it is time to share it with you all!
For this project, you will need:
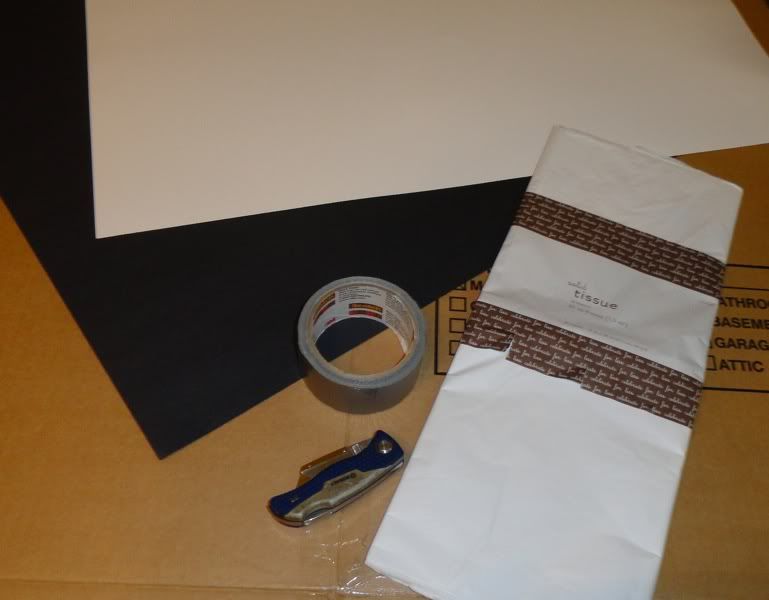
- Large cardboard box (big enough to fit your projects in)
- White tissue paper
- Black and white posterboard (interchangeable)
- Duct tape
- Box cutter
- Scissors (not pictured)
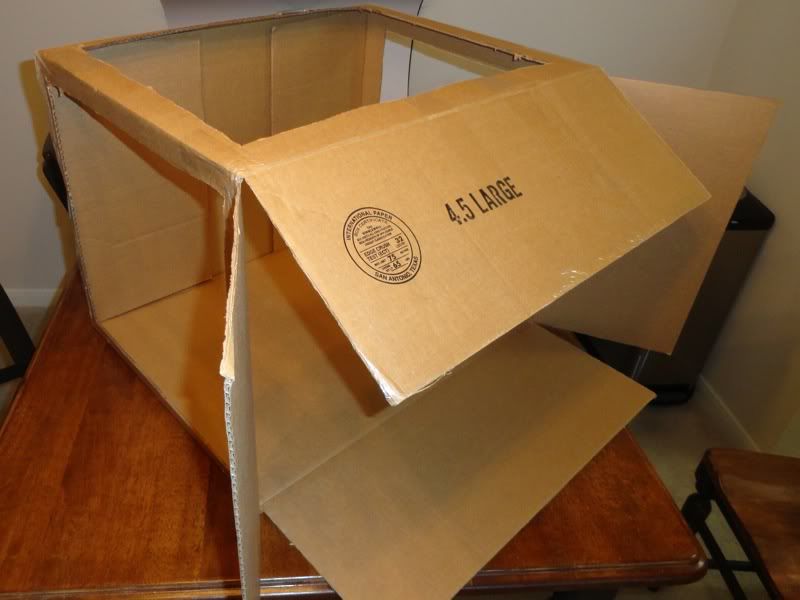
The first thing you will need to do is tape your box, just like you were going to pack stuff into it! Once that is done, get your box cutter and begin cutting the three windows, one in the top panel and one in each side panel, (pictured below). This can be a little tricky if your blade isn't sharp enough. Just make concise slices not pushing in, but down.
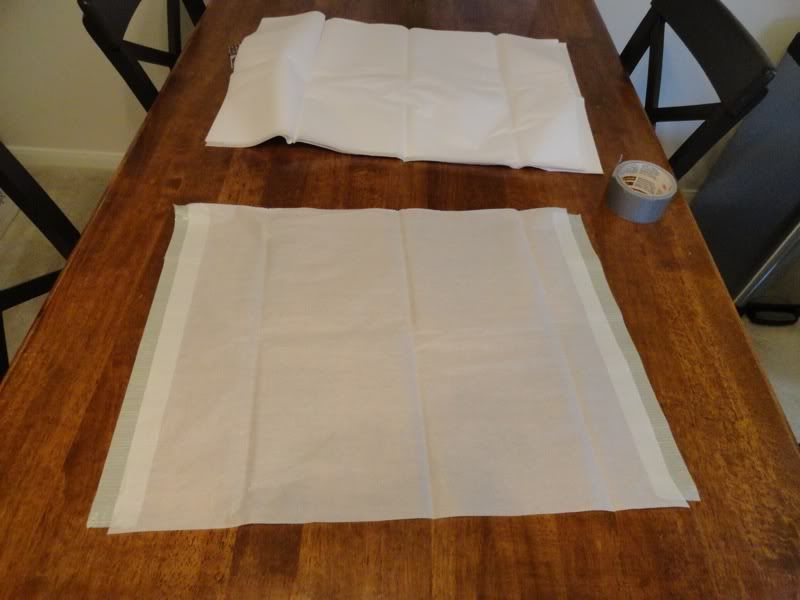
Next, you will need to cut the top lid panel off, and trim your tissue paper to size and tape it over the windows. The easiest way for me to do this was to rip tape for sides of the tissue paper, place the tape sticky side up on a table, then pull the tissue paper taut and lay on top of the tape (pictured below, left). Then, place the sheet of tissue paper on the box and tape the other two sides, with the tissue paper fairly taut. Do this far all three sides.
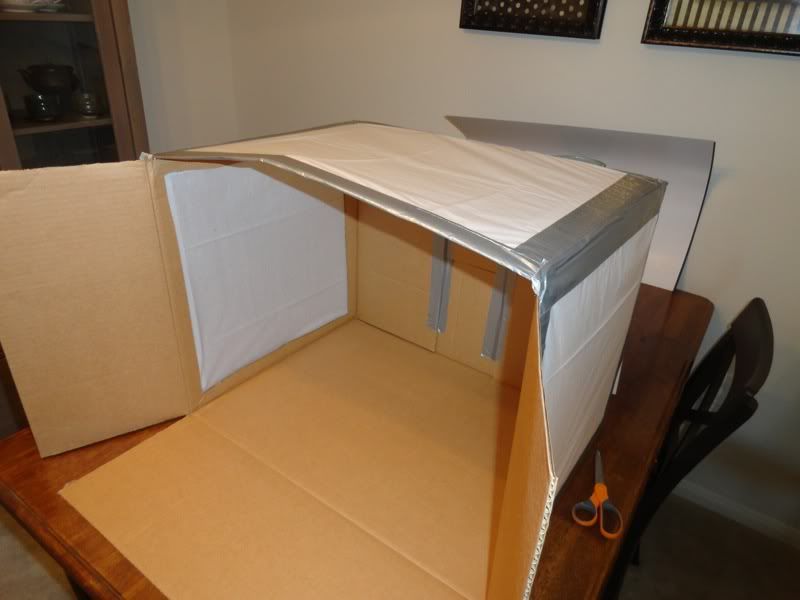
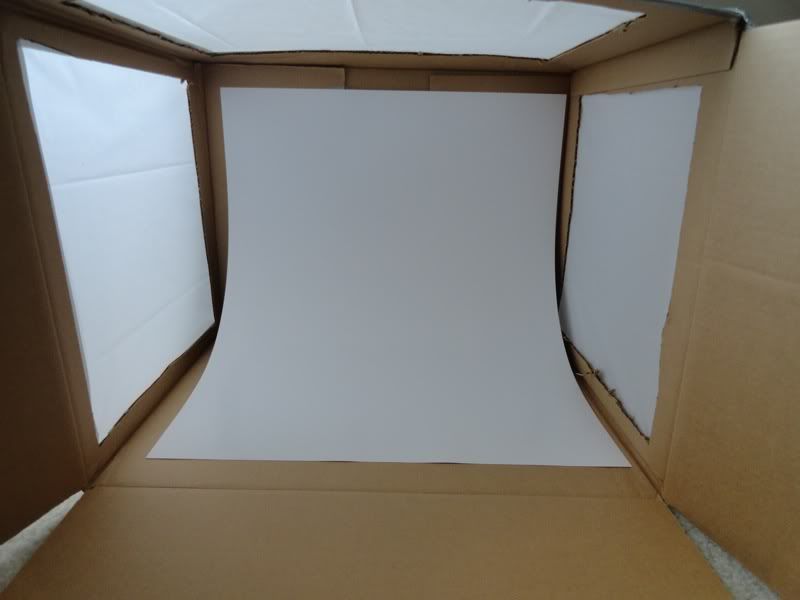
Good! Now the hard part is done! Now, take your posterboard, whichever color you choose. I bought both black and white, but I chose to put white in to start. I just made a loop of duct tape and stuck it on the back of the white posterboard. Then I stuck it in! The inside of the box looked like this when I was all done:
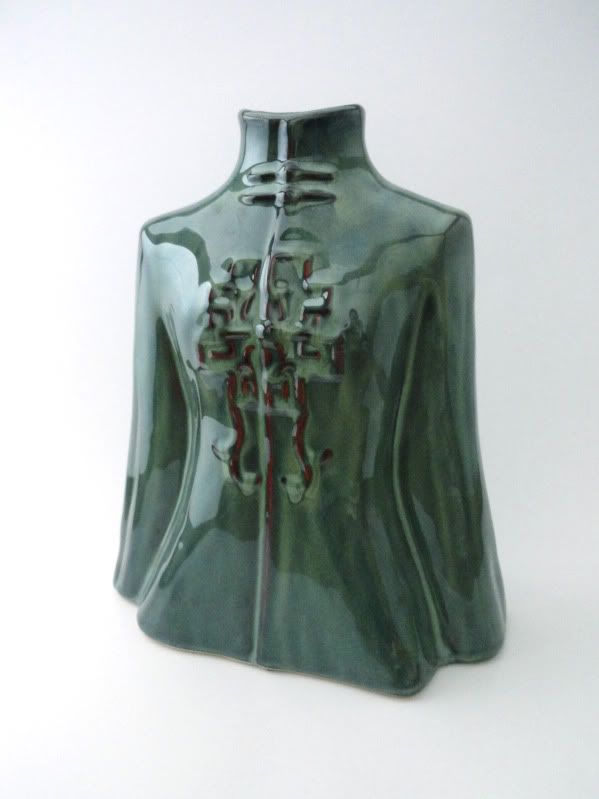
Ta-Dah! Now you can take awesome pictures, like the one up top of my kimono vase. I simply set the box on the floor near a window (for sun light) and then set the vase in. I took a picture (no flash) and that's how it turned out! Beautiful. You can also use a small work lamp to provide lighting, or if you have a photographer's flash that works too! You can use the side panels to block light or your reflection, which I failed to to and now you can see my reflection in the vase!
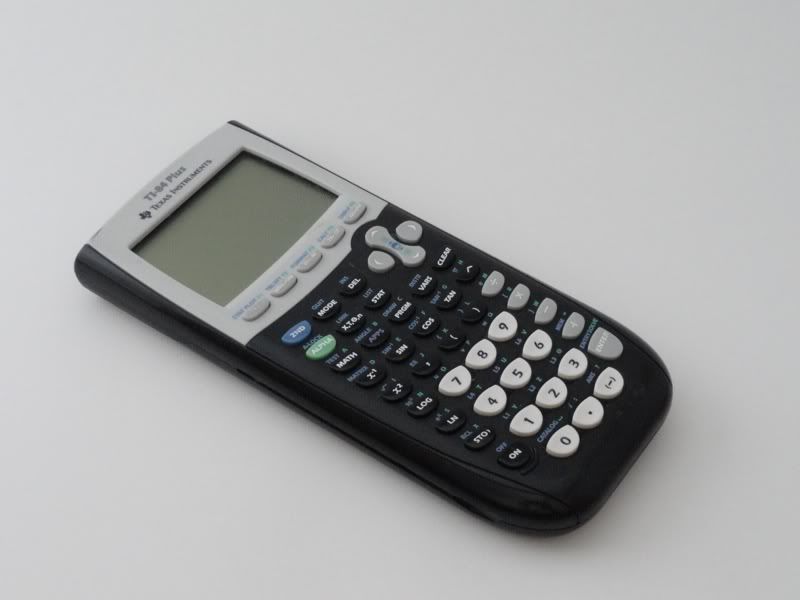
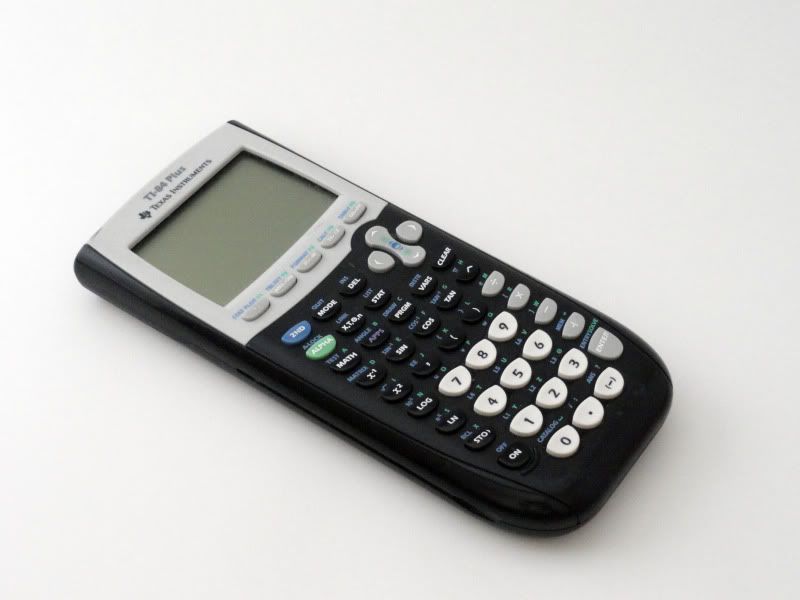
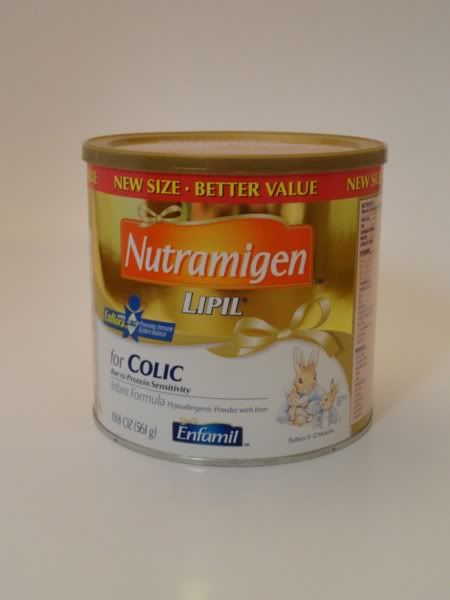
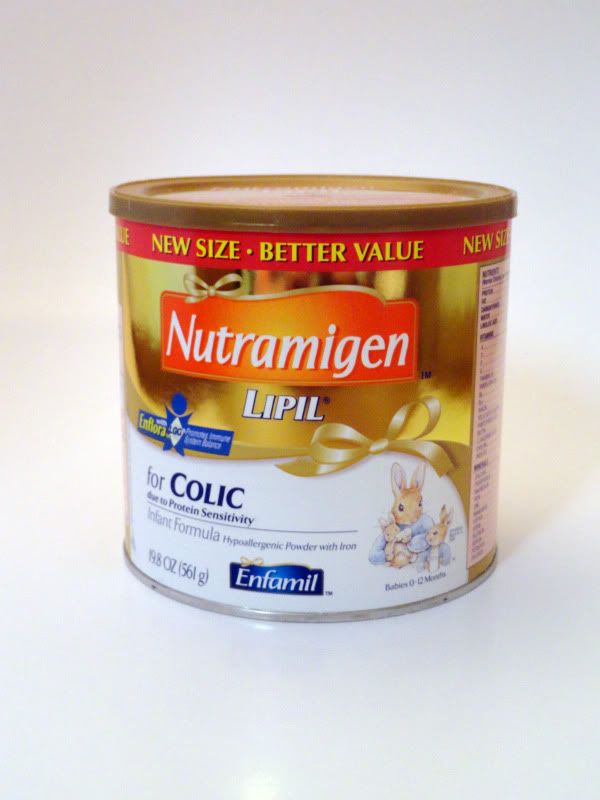
The pictures above are before and after editing, so you can see the affect of different lighting. The picture of the calculator was also taken with no flash, with the box in the sunlight. The lovely picture of my son's formula (sorry, I was lacking in objects that could be photographed) was taken away from the sunlight under ordinary overhead lighting with a flash. You can see that is doesn't look quite as clean and pretty, but that it still works!
Once again, credit needs to be given to the Strobist blog. Happy crafting everyone! Come back soon :)
No comments:
Post a Comment